Why do I need a tire sealant?
Tubeless Ready tires are not completely airtight. You need to use a sealant to ensure a good seal. Combining a Tubeless Ready tire and a sealant provides better protection against punctures and the sealant does not have any negative effect on rolling resistance.
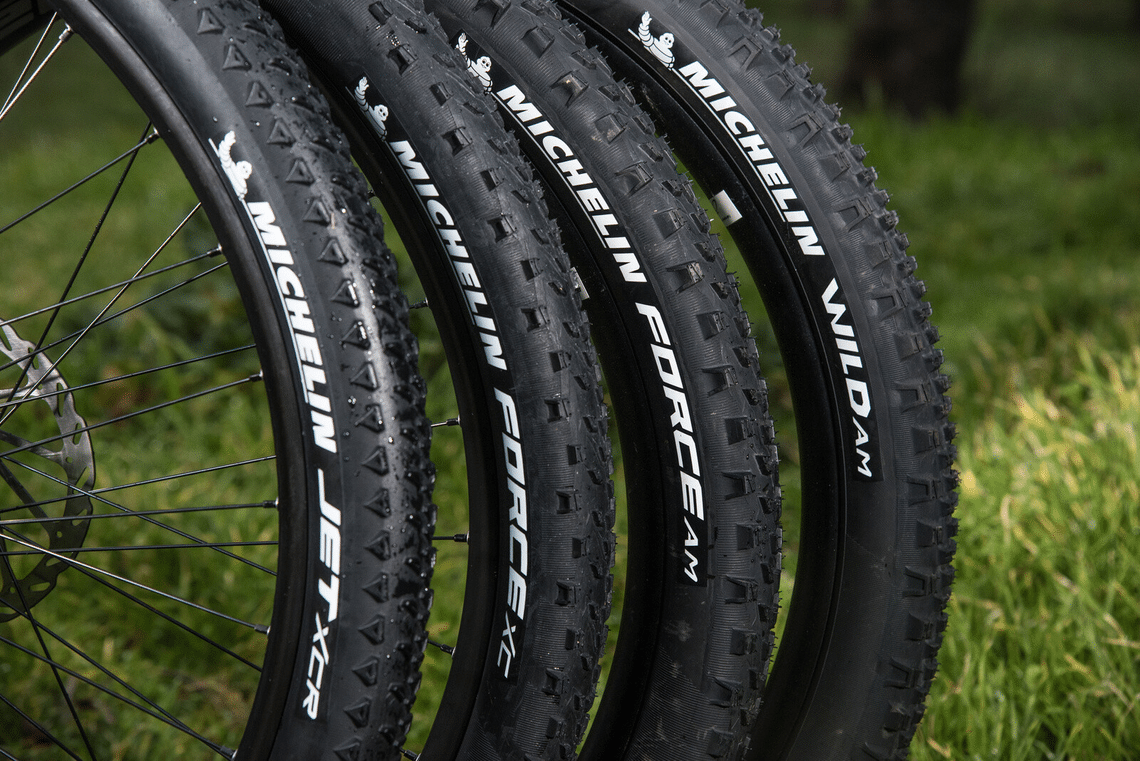
Depending on your type of riding (Road = high pressures vs Gravel & MTB = low pressures), you’ll need to adapt the type of sealant used.
Can I Use Tire Sealant with an Inner Tube?
Although tire sealant is mainly used inside Tubeless Ready tires, it can also be injected in inner tubes to repair small punctures. This is the case with TubeType tires, but also Tubular tires. By injecting the sealant into the inner tube, it will plug small perforations and allow you to continue riding.
Note that Michelin has designed an inner tube called Michelin Protek Max which already contains tire sealant. This means you can avoid the potentially messy task of injecting the liquid and enjoy its reparative properties while you're riding. Michelin Protek Max comes in two versions, City and MTB.
How to Apply Tire Sealant – Step by Step
We'll guide you through the steps for injecting tire sealant. But before we start, please note that tire sealants may contain chemicals. Follow the protection recommendations (for eyes, hands, clothing, etc.) provided on the box before handling them. If tire sealant spills on your clothes, clean the stain immediately to preserve their lifespan.
1/ Check the expiration date
Before using tire sealant, make sure that the product has not been used beyond the expiration date indicated by the manufacturer. Sealant loses its effectiveness once exposed to air, especially after multiple uses. Using expired or previously used sealant may result in decreased effectiveness.
2/ Remove the wheel
While not mandatory, we recommend that you remove the wheel before injecting the sealant. This makes handling easier and allows for more even distribution of the sealant.
3/ Shake the bottle well
Tire sealant consists of several components such as water and denser particles like latex or polymer. It may also contain natural or chemical solvents. To ensure effectiveness, shake the bottle well before injecting the sealant.
4/ Unscrew the top part of the valve
Note that the valve can come in two formats: PRESTA or SCHRADER, also known as “standard valve”.
5/ Inject the tire sealant
The quantity to inject depends on the volume of the tire/inner tube combination if you have a Tubetype setup and of the tire alone if you have a Tubeless or Tubeless ready/TLR setup. Please refer to the information on the product box.
6 / Screw back the top part of the valve
7/ Shake the wheel
Turn the wheel quickly, shaking it well to ensure that the tire sealant is distributed evenly and does not obstruct the valve. It is important that you shake the complete setup in all directions (and not only to rotate the wheel on its central axis) to make sure that the sealant can hit all small porosities of the tire and the wheel, to achieve a complete sealing action.
Should I inflate the tire to its maximum pressure?
No. Unlike what some people think, inflating your tire to maximum pressure and letting it rest overnight after injection is not useful to improve the sealing action. Simply inflate the tire to rolling pressure and shake it well after injection.
How Often Should I Replace or Add Sealant?
The tire sealant only remains effective for a limited period, which depends on a number of factors. After a certain period of time, the sealant dries and turns into a rubber film, or breaks into small pieces. In winter, with greater temperature variations and a more humid environment, the tire sealant can dilute and become less effective.
We recommend that you check and add sealant roughly every 3 months, depending on how often you use your bike. It is also recommended that you change the tire sealant every time you change a tire.
To find out where to dispose of used sealant, whether it can be recycled or not, please refer to the instructions on the manufacturer's box.
Best Practices for Handling a Puncture
Most tubeless-ready tire punctures go unnoticed, since the tire sealant plugs the puncture almost instantly. However, if the puncture is quite significant, the tire may lose pressure. In this situation, it is often quite easy to spot the puncture due to the visible presence of sealant.
If your tire loses air due to a puncture:
Locate the leak: The punctured area will show visible sealant.
Position the puncture downward: This ensures sealant flows directly into the hole.
Let the sealant dry for a few minutes before re-inflating.
Reinflate to normal pressure (do not overinflate).
If the puncture is too large, you may need to repair or replace the tire.
FAQ
Read our Frequently Asked Questions.
Tire sealant is a liquid, typically latex-based, injected into a tubeless-ready tire (or an inner tube in some cases) that automatically seals small punctures while you ride. When a sharp object creates a hole, the air pressure forces sealant to the puncture site where it coagulates and plugs the hole — often in seconds and without requiring the rider to stop. Most small punctures in a tubeless-sealant setup go entirely unnoticed.
Yes. Tubeless Ready (TLR) tires are not completely airtight on their own — the casing has small pores that allow air to seep through slowly. Sealant is required to seal these pores and make the setup airtight, in addition to providing puncture protection. A TLR tire without sealant will lose pressure continuously and won't maintain inflation. True UST (Universal System Tubeless) tires are completely airtight without sealant, but TLR is the more common current standard.
Michelin recommends checking and refreshing sealant roughly every three months, depending on riding frequency and conditions. Sealant dries over time, turning from liquid into a rubber film or breaking into small pieces — at this point it no longer flows to seal punctures effectively. In winter, cold and humidity can accelerate this process. Each time you replace a tire, add fresh sealant. Regular riders should check sealant condition periodically by shaking the wheel and listening for liquid movement.
Yes. While sealant is primarily used with tubeless setups, it can be injected into a tubed (tube-type) setup to seal small perforations in the tube. This is useful for commuters who want puncture protection without converting to fully tubeless. Michelin's Protek Max inner tube comes pre-filled with sealant and uses it in combination with a reinforced design for protection without injection. If injecting sealant into a standard tube, the valve must be removable — some tubes have fixed valve cores that prevent injection.
The amount depends on the tire volume — a larger tire requires more sealant to coat all the internal surfaces. Refer to the sealant manufacturer's instructions on the product packaging, which usually give quantities by tire type and size. For road tires with smaller volumes, less sealant is needed than for wider gravel or mountain bike tires. After injection, rotate the wheel in multiple directions and shake it to distribute the sealant evenly across all the internal surfaces, including through any small pores.
For a large cut that sealant can't plug, use a tire plug — a rubber plug inserted into the cut from outside the tire to help the sealant form a seal around it. Plugs are a standard item in gravel and mountain biking toolkits. If the damage is too large for a plug, the backup is to remove the valve core, insert an emergency inner tube through the valve hole (deflating the tire to remove the valve core first), and inflate. This converts the tubeless setup to a temporary tube-type for the remainder of the ride.
Related articles
-

How to improve bike puncture resistance
Three types of punctures affect bicycle tires differently and require different prevention strategies. Perforation punctures from glass, nails, and thorns are reduced by tighter casing construction and thicker tread rubber. Pinch flats from low pressure combined with a hard impact are eliminated entirely by switching to a tubeless setup. Rim-side punctures from damaged rim tape are prevented by replacing the rim tape every time you replace the tire. Each type has a specific and practical prevention.Learn more -

What should I do if my back bike wheel wobbles?
You're riding your bike and you feel a bump at the rear with each turn of the wheel, a lateral or vertical shake, which is not only unpleasant but can also, in some cases, destabilise the bike and even lead to a fall. It is therefore important to deal with the problem as quickly as possible to enjoy a better cycling experience. So what should you do if your back bike wheel wobbles? Find the answers in our article.Learn more -
How to store bike tires properly
Storing your tires (mounted or dismounted) may sometimes be necessary. What special precautions should you take for bike tire storage to preserve them as much as possible? Should tires be stored differently depending on whether they are tubeless, tubed or tubular? You'll find out all you need to know after reading our experts' recommendations in this article.Learn more -

How to break in new tires properly
New bicycle tires carry a manufacturing release agent on the outer surface that reduces grip until it wears away through road contact. During the first few rides, avoid aggressive cornering, emergency braking, and slippery surfaces. Tubular tires additionally need 24 hours of inflation before first use to allow manufacturing solvents to evaporate from the casing. Grip improves progressively as the surface agent wears off, typically over the first three to four rides.Learn more