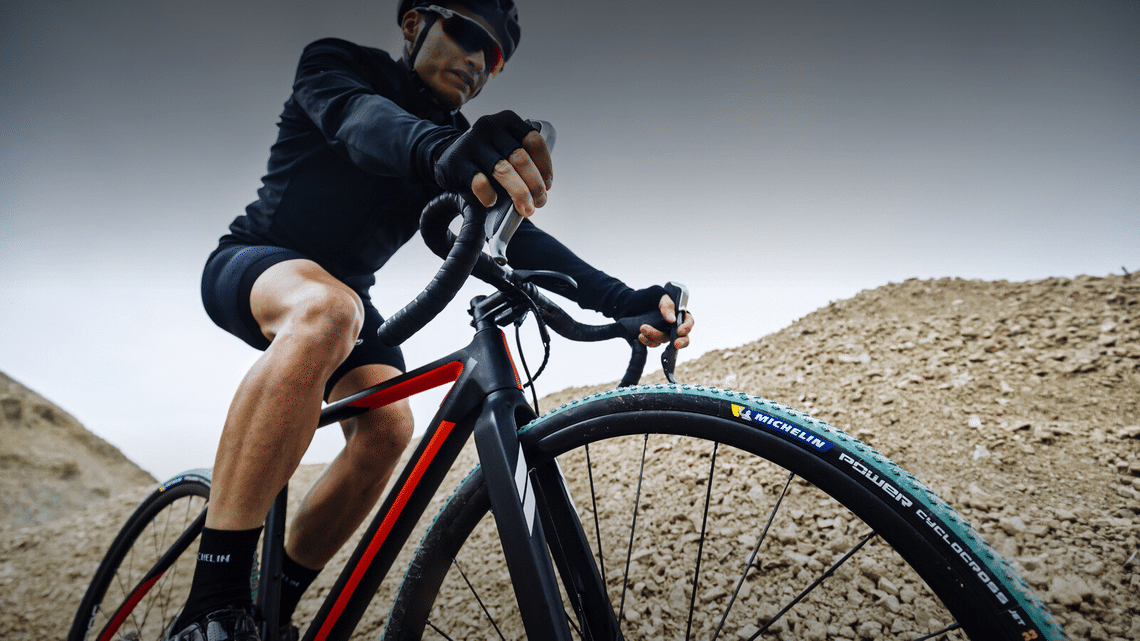
- A correctly fitted bicycle tire sits evenly in the rim with the bead line visible and consistent all the way around, rolls in the correct direction, and has no inner tube pinched beneath the bead. A poorly fitted tire can cause flats, handling problems, or bead failures that have nothing to do with the tire's quality. This hub covers fitting guides for tube-type, tubeless, and tubular setups.

-
How long do bike tires last?
Road tires used for daily training can wear from a few thousand to many thousands of miles depending on compound hardness, road surface, and riding style. MTB tires vary even more based on terrain type and whether you frequently lock the rear wheel. Michelin recommends removing tires from service after 10 years from the manufacture date regardless of tread depth: rubber ages and loses performance from ozone, UV, and heat cycling even with minimal mileage.Learn more -
How to change a bike tire
Before fitting a replacement tube, find and remove what caused the puncture by running your fingers slowly along the inside of the tire tread. This is the step most cyclists skip, and it is why repeated flats on a new tube are so common. Inflate the replacement tube just enough to give it shape before inserting it inside the tire. Seat the second bead without levers if possible, starting at the opposite side from the valve. Inflate slowly and check the bead line before reaching full pressure.Learn more -
How to fit tubular tires
Compared to the other types of tire (Tubetype and Tubeless Ready), the tubular tire has a number of differences that make it more time-consuming and complicated to fit. Not only is it glued to the rim, but it is also sewn directly around the inner tube, which means that replacing it means changing the whole assembly. Fortunately, our experts are here to guide you. In this article, they will take you step-by-step through the process of fitting a tubular tire.
Before you start, note that this instruction guide applies to both road and cyclocross tubular tires.Learn more
Related topics
FAQ
Read our Frequently Asked Questions.
Confirm the tire is compatible with your wheel size and rim. Check the rim's condition — any cracks or damage mean the rim needs replacing before fitting new tires. Have fresh rim tape ready if the existing tape is worn or cracked. For a tube-type setup, have the correct inner tube. For a tubeless setup, have compatible sealant and a valve. A tire lever helps if the bead is tight, though some tires seat by hand. A pump with a pressure gauge is essential for final inflation to the correct pressure.
Three things: rim condition (no cracks, dents, or damage), rim tape condition (clean, intact coverage over all spoke holes with no tears or gaps), and the valve hole (clear and properly sized for the valve you're using). A damaged rim tape is one of the most common causes of inner-tube punctures that happen without any obvious road hazard — the tube gets pierced by a spoke nipple or rough edge that the tape failed to protect. Replace rim tape whenever fitting new tires.
Work the tire onto the rim by hand where possible, starting at one side and working around, finishing at the valve side. Use tire levers only if the bead is too tight to seat by hand — levers can pinch and damage a tube if used carelessly. For tubeless, lubricate the rim bead seat and tire bead lightly to help the tire slide into position. After initial inflation, check that the bead line (a molded line on the tire sidewall) is visible evenly all the way around both sides — this confirms the tire is properly seated.
Three checks: confirm the bead is fully seated evenly around both sides of the rim by looking at the bead line (a thin raised line near the edge of the tire). Confirm the rolling direction is correct by checking the arrow on the sidewall. For tubed setups, confirm the tube isn't pinched anywhere by deflating and checking that the bead hasn't trapped the tube. Then inflate to the correct pressure for your weight and use, and make a short test ride before relying on the tire for longer distances.
Sometimes — it depends on how tightly the tire bead fits the specific rim. Some tire-rim combinations seat and unseat by hand without tools; others are very tight and require levers. When levers are needed, use plastic ones and apply them carefully to avoid pinching the tube between the lever and the rim. For tubeless tires, which have tighter beads than many tube-type tires, a lever is often necessary. Never use metal tire levers on carbon rims — the risk of rim damage is high.
Look for a directional arrow molded into the sidewall of the tire. This indicates the correct forward rolling direction. On many bike tires, the front and rear tires have different optimal directions — the sidewall may indicate one direction for the front wheel and another for the rear. If the tire is non-directional, it can be fitted in either orientation. Always check before fitting — remounting a tire because the direction was wrong is time-consuming.