Which Inner Tube Do You Need for Your Bike?
1 - What inner tube size do I need?
Look at the sidewall of your tire. The size can be given in millimetres, inches or ETRTO measurements. To find out more about this, you can read our article "Understanding Bike tire Sizes". The inner tube for your bike must be compatible with the diameter and width of the tire.
2. Choosing the Right Valve Type
If several valve options are offered, you will have to choose between a "STANDARD” valve (also called "Shrader") and a "PRESTA" valve.
How to Install a Tube-Type (or tire with tube) Tire on Your Bike
Installing an inner tube or a tubeless tire may seem complicated, but by following these step-by-step instructions, you’ll have your tire mounted correctly in no time.
Fitting a standard tire with an inner tube
1- Carefully check the condition of the rim. A rim in poor condition – broken or cracked – must be changed as it may cause leaks and deflate the tire.
2- Check the condition of the rim band. A broken or cracked rim band around the rim should be changed. A rim band in poor condition is often the cause of punctures. To fit, superimpose the valve and rim holes and keep them in line.
3- Insert the 1st bead of the tire into the rim.
4- Inflate the inner tube slightly to make it round and insert it into the tire, starting with the valve. For latex inner tubes, do not forget to apply talc to facilitate positioning in the tire.
5- Do the same for the second bead, always starting opposite to the valve and positioning the bead right into the rim well. Finish fitting at the level of the valve.
Fitting a Tubeless tire
1- Use a Tubeless Ready compatible or UST rim. Carefully check the condition of the rim. A rim in poor condition - broken or cracked – must be changed as it may cause leaks.
2- The rim must be lubricated all around the circumference to help the tire slide when being fitted and, in particular, to ensure it is correctly centered. The lubricant to be used must be of the “soapy water” type or equivalent – no oil or grease. The improper use of oil or grease can lead to deterioration of the rubber compounds, slipping, or failure in seating the tire.
3- Start by inserting the first bead opposite to the valve, taking great care to position the bead right into the rim well.
4- Do the same for the second bead, always starting opposite to the valve and positioning the bead right into the rim well. Finish fitting at the level of the valve.
5- Inflate the tire until inserted, without exceeding the maximum pressure indicated on the sidewalls. Make sure the tire is correctly centered. Adjust the pressure after a few kilometres.
Tubeless Ready (MTB)
All MTB Michelin tires in foldable bead are tubeless ready (Performance Line and Racing Line) and can be mounted without inner tubes, provide that :
you use a Tubeless Ready-UST rim
the maximum pressure indicated on the tire sidewalls is not exceeded
sealant liquid such as latex is added
the tire pressure is checked before every ride
How to Remove a Bike Tire
1 - Unclip the tire beads and push them into the rim channel.
2 - Use tire levers to remove the first bead, positioning them 4 inches apart near the valve.
3 - Carefully work one tire lever around the rim to fully remove the first bead.
4 - Remove the second bead by hand.
Michelin Protek Max inner tube
In order to avoid punctures during your ride, the Michelin Protek MAX inner tube uses two different technologies:
the presence of raised bumps and its compressing action causes the hole to naturally seal itself, or at least it reduces the loss of tire pressure
the self-sealing liquid reaches the hole through the combined effect of the air inside the tube and the rotation of the wheel.
The hole could be partially sealed if the puncture is very large, and if the sidewalls have been punctured. If a puncture occurs, the object which has caused the puncture can be removed from the tire. The whole unit must nevertheless be functional, including rim, tire and inflated Protek Max inner tube, before and after the removal. This tube has not been designed to be repaired.
Caution during use :
Presence of sealing liquid inside the inner tube.
If the Protek Max inner tube is accidentally ruptured, part of the sealing product may spill out; this product may cause irritation, therefore do not swallow and avoid all possible contact with the skin, mucous membranes and eyes. If swallowed or in case of contact with eyes, seek medical advice.
Do not place the valve near your mouth.
Recommendations
Bike Tire Maintenance Tips
To keep tires as long as possible, you should check them before each ride. Remove any foreign bodies trapped in the rubber with a small screwdriver. tires should be washed with water because abrasive products can damage the fabric. Use small rubber repair patches on the inside of any small cuts through the ply. Rainwater makes flint in the roadway more apparent; this sharply attacks treads causing cuts that may perforate the casing.
Proper Tire Storage
When not in use, tires should be stored in a cool, dark place. You should also avoid leaving your bike in the sun when not in use.
Handling Punctures
In case of puncture, our recommendation is to replace the rim band each time the tire is replaced, as well as when the inner tube is replaced.
Proper Direction for MTB Tire Installation
Why a particular direction for fitting ?
The direction in which a tire is fitted will enable the user to optimize the performance of the tires in terms of braking and traction. In general, the front tire is more involved in braking while the rear tire gives maximum traction. The rolling direction is marked directly on the tire by an arrow. The tires are also marked “Front” and “Rear”.
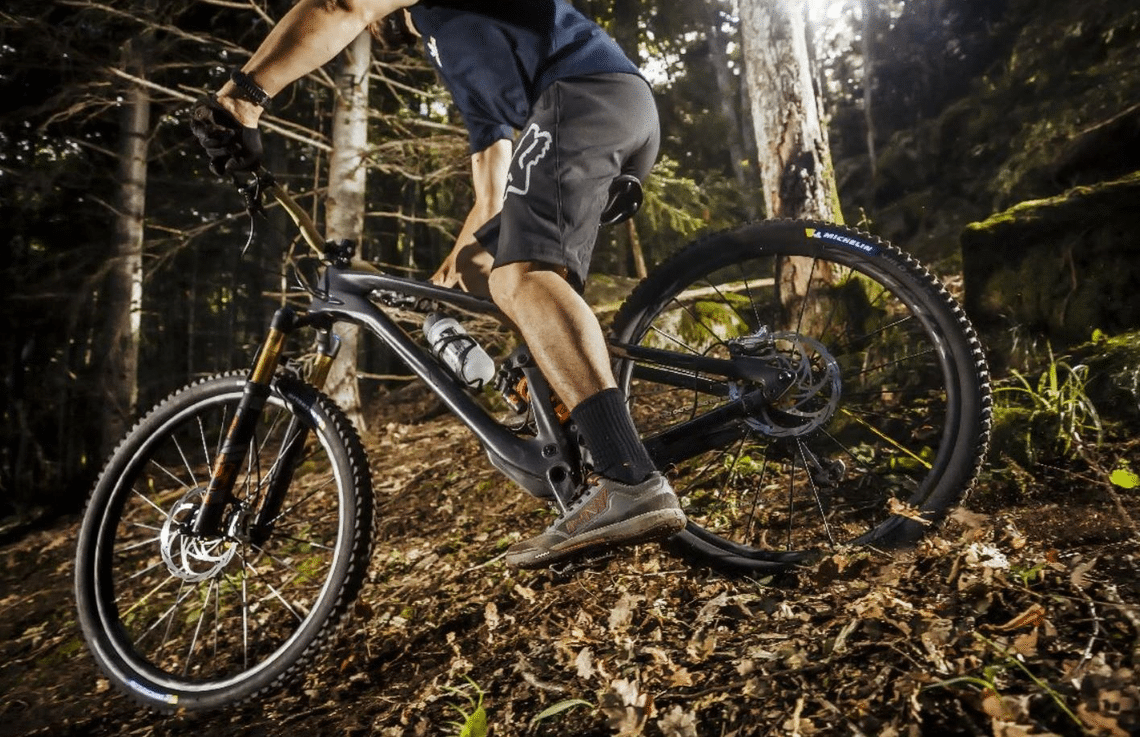
Understanding Tire Pressure for Optimal Performance
Pressure varies according to the weight of the rider (as for the road) but other parameters, such as the section, bike (front suspension or full suspension for mountain bikes) and use are important factors for the final choice.
Related articles
-
How to choose your bike tire?
Whatever type of cycling you do, some tires will be more suitable than others. How do you choose the right bike tires to get the performance you expect? Find the answers in our complete guide.Learn more -
How to choose the best road bike tires for your use
You primarily ride on the road for racing, training, or daily commuting. Maybe you also venture off-road occasionally. With so many options available, you might be wondering which road bike tires are best for you. This guide will help you choose the right tires for your riding style.Learn more -
How to choose the best gravel tires for your bike?
The right gravel tires can make all the difference, especially when you venture off the beaten path. This is particularly true for gravel cycling, where tire selection directly impacts your riding experience. In this article, we'll walk you through the key factors for choosing the best gravel tires, explain the differences between our models, and help you find the perfect option based on your riding style and the terrain you'll encounter. Get ready to ride with confidence, comfort, and speed on diverse trails!Learn more -
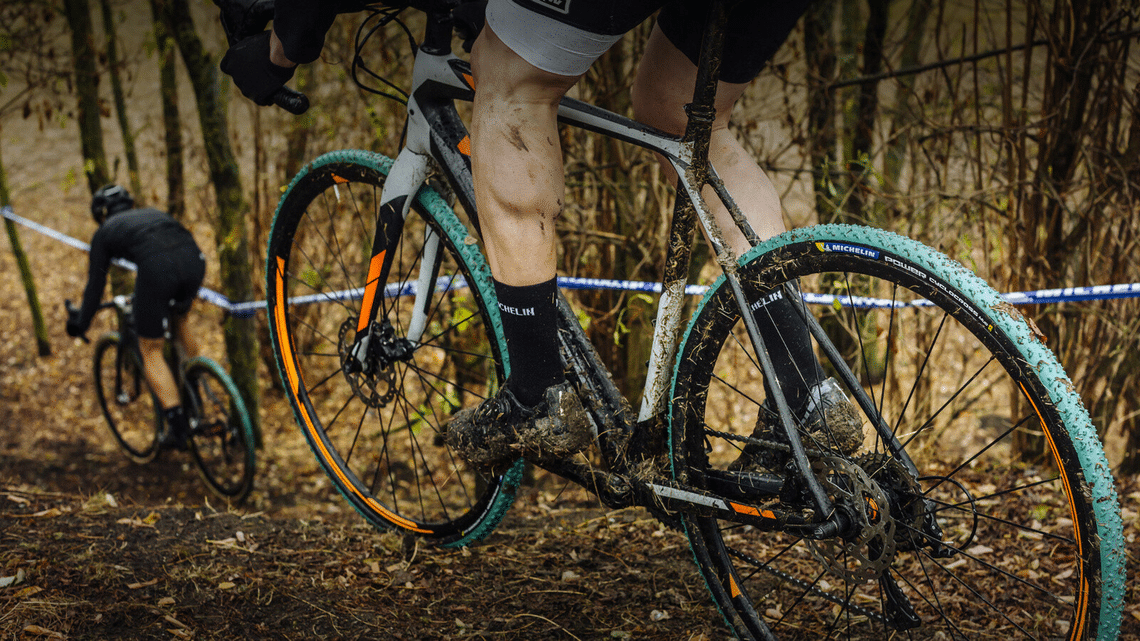
How to choose your cyclocross tires?
Cyclocross tires, as in any cycling competition, are crucial to increasing your chances of crossing the finish line first. How do you choose them? That's what we're going to explain in this article.Learn more